Have no fear! An H-Sport Stage 1 TVS System install on the MINI Cooper is well within the capabilities of anyone who has ever done a brake job or other suspension swap on their car. The kits contain explicit photos and written instructions with every component.
The following are additional tips for a complete install of an H-Sport MINI Cooper Stage 1 TVS System (sway bars and lowering springs). This kit is the "Sport" system and is perfect for anyone who uses their MINI as a daily driver and for weekend road trips.
Let's Dive Right In!
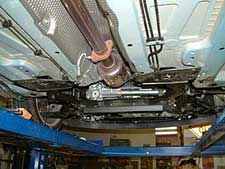
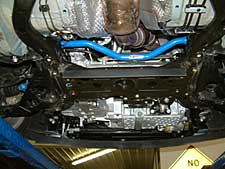
If you have access to a lift, it will be easier to complete the job. However, raising the car and supporting it with jack stands will work well. The front sway bar is the first piece to install. Following the instructions you'll find that the front sub-frame needs to be completely loosened and pried away from the body first.
Installation TipAfter you remove the stock end links from the stock sway bar, a variety of metric wrenches (detailed in the instructions) will enable you to quickly loosen and remove the main sub-frame bolts (14) and motor mount bolts (2). An air drive ratchet really helps speed this process since the bolts are long.
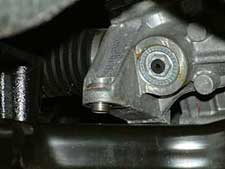
This next step is the time consumer. It is highly recommended that you disconnect the 4 steering rack bolts even though the rack can be pulled down with the sub-frame. If you do not remove the 4 rack bolts, you stand a good chance of pulling the steering column seal loose from the firewall and it is difficult to get back in.
The instructions recommend using an E-12 torx socket wrench to remove the rack bolts, but it is virtually impossible to get a socket drive into the limited space above the rack. I used a variety of offset and straight 12-point box end 3/8" wrenches, depending on the location of the bolt and the bolts came out -- but it took patience and perseverance.
Next install the 4 sway bar bracket bolts. They are 18mm bolts and are extremely difficult to loosen. Just get the longest wrench you have onto the bolt heads and lean on it!
The stock sway bar slides out easily and the H-Sport bar is installed with its greaseable bushings. Then reverse the removal process and bolt it all back together.
Total time thus far including double-checking all nuts and bolts: 2-1/2 hours.*
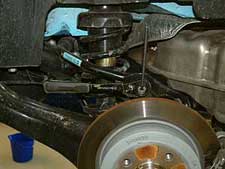
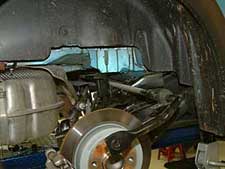
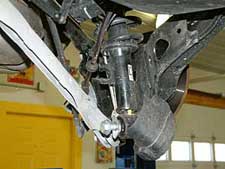
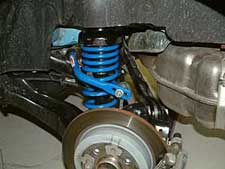
The rear sway bar is next and does require the removal of at least one rear wheel, although the job was easier with both rear wheels removed. If the car is on a lift, jack it up and remove the rear wheels. Disconnect the rear end links and remove only 4 rear sub-frame bolts as per the instructions. Remove the strut/spring assembly. Note the brake lines that need to be removed from the locating bracket on the strut assembly.
After the rear sway bar bracket bolts are removed, the stock sway bar has to be turned and wiggled to get it past the fuel line. The new H-Sport bar slides in with a little wiggling and turning and the disassembly process is reversed for reassembly.
Total time for removal and replacement of rear sway bar: 1-1/2 hours.*
Installation TipIf you are installing the entire Hotchkis TVS Stage 1 kit, it's a good time to replace the springs on the rear struts when you replace the rear sway bar since the struts are removed to facilitate the sway bar removal and installation.
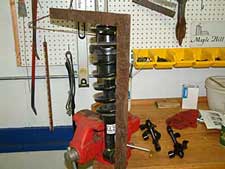
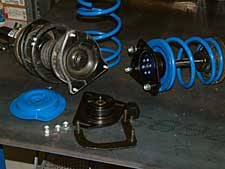
The installation instructions recommend compression of the stock spring and removal of the top plate. Stop! Re-read the part about marking the top plate and bottom of the strut so that they go back together in the same alignment. This becomes important after the strut/spring assembly is reassembled and will save recompressing the spring to re-align the top plate. Proper alignment will ensure that the top strut-to-body bolts will fit properly on reinstallation. The top nut is easily removed with a metric ratcheting wrench and allen wrench. The top plate and rubber isolator are indexed so the new spring can only be installed one way.
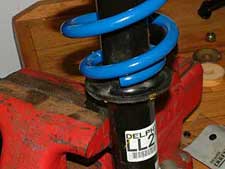
There is a slot in the rubber isolator on the bottom of the strut and the new spring must be indexed in the stock "slot." Compress the new H-Sport spring and, after installing the new polyurethane stop, reassemble the top plate and isolator. With the alignment marks properly set, unwind the spring compressor and the strut is ready for reinstallation.
Total time for rear springs: 45 minutes.*
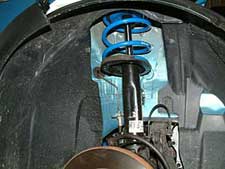
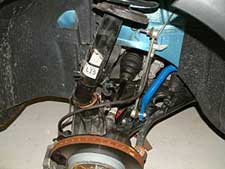
Time to tackle the front springs. Jack up the front end and remove the front wheels. Remove the bolt that attaches the strut to the spindle. This is really a "clamping" bolt and once it is removed the strut is free to slide out of the spindle.
Note: A 2# dead blow hammer and a liberal dose of WD-40 or silicone spray will help the strut slip out with a couple of taps. Now loosen the three top bolts inside the engine compartment and the strut can be "wiggled" out.
Compress the stock spring and use a spark plug wrench and ratcheting wrench to remove the recessed nut. Remove the stock spring and after indexing the H-Sport spring, reassemble in reverse order. The top plate is indexed with slots for the springs and can only be installed one way.
The quality and fit of all of the suspension pieces that H-Sport makes and the ease of installation is indicative of the amount of time that H-Sport's engineers spend ensuring the components will fit properly in modern vehicles with minimal clearances.
Remember that all H-Sport suspension parts and kits come with a 3-year/36,000 mile warranty.
*Installation times include time spent taking photos for this article.
(By Terry Stevens-Marketing Director, Hotchkis Sport Suspension)
Was this post helpful?
251 of 486 people found this post helpful

